Asset Tag Installation and Surface Preparation Guide
Choose adhesive or mechanical mounting, prepare the actual asset surface and test curved, textured or sensitive installation areas.
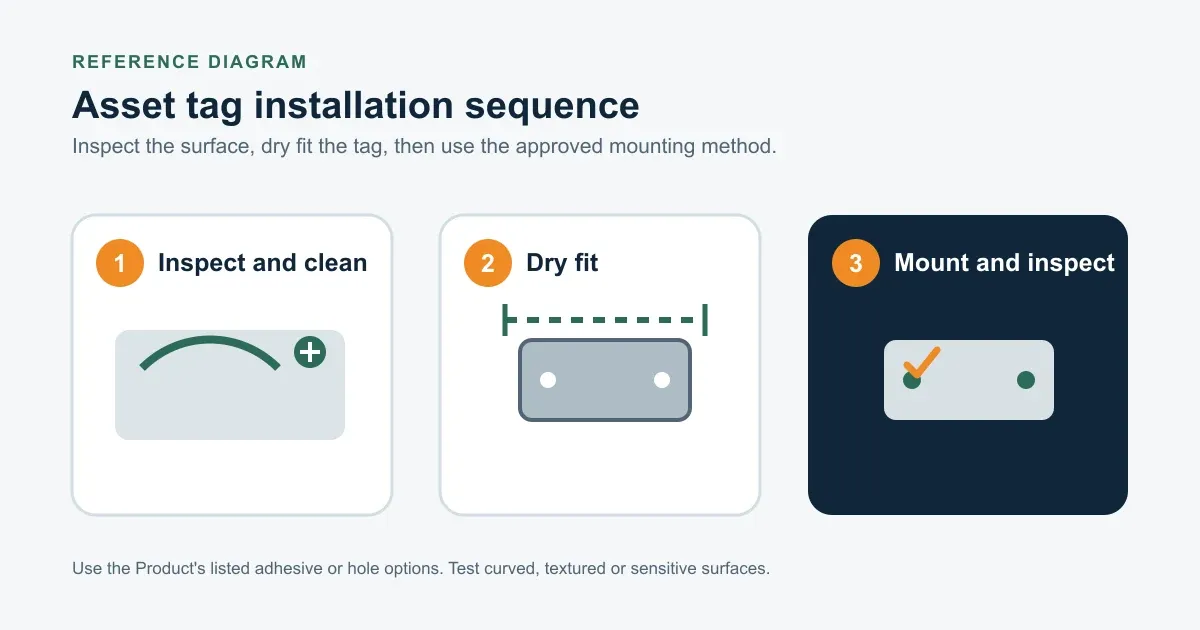
Steps
- Inspect the actual mounting surface. Record whether the surface is flat or curved, smooth or textured, clean or contaminated, and whether drilling is allowed.
- Choose a listed mounting path. Start with the selected Product's adhesive or hole options. Do not specify a mounting method the Product does not list.
- Prepare the surface. Remove dust, oil and residue with a method compatible with the asset, then allow the area to dry.
- Dry fit before attachment. Check clearance, orientation, scan access, edge contact and hole alignment before removing a liner or drilling.
- Install without bridging or bowing. Apply even pressure across an adhesive tag, or install approved fasteners without forcing the plate over a recess or misaligned holes.
- Protect and inspect the installation. Follow the confirmed dwell or cure instruction, then check edge lift, plate movement, fastener security and code access.
The mounting surface decides whether adhesive or mechanical installation is the safer starting point.
Use the selected Product’s listed mounting options as the boundary. If the surface, fastener or exposure falls outside that list, send photos and details with the RFQ instead of applying a universal installation rule.
Choose the mounting path from the surface
| Surface or condition | Starting path | Confirm before production |
|---|---|---|
| Smooth, flat and clean | Adhesive-backed Product | Contact area, edge clearance and the exact adhesive option |
| Flat equipment with an approved hole location | Product with mounting holes | Hole count, diameter, spacing, fastener and rear clearance |
| Smooth, gently curved housing | Flexible film or thinner aluminum with adhesive | Curve, full back contact and edge lift |
| Textured, oily, powder-coated or sensitive finish | Sample test or approved mechanical mounting | Cleaning method, coating and available contact area |
| Repeated cleaning or unusual exposure | RFQ and sample test | Exact surface, Product, cleaning process and installation location |
Compare the surface with the asset tag materials guide before choosing between aluminum asset tags and polyester asset tags.
Prepare and dry fit the location
Remove loose debris, oil and old adhesive residue with a method that will not damage the asset finish. Let the area dry and keep hands, gloves and tools from transferring contamination back to it.
Hold the tag in place with the liner still attached. Confirm that the whole back can contact the surface and that the tag does not bridge a seam, raised feature or recess. Check doors, vents, handles, service panels and the intended scan angle.
For plates with holes, compare the finished hole layout with the asset or approved drawing before drilling.
Install an adhesive-backed tag
Use adhesive only where the Product lists it.
- Mark the approved position after the dry fit.
- Remove the liner without touching the adhesive.
- Place the tag without trapping debris or forcing it around a feature.
- Apply firm, even pressure across the available contact area.
- Protect the installation for the dwell or cure period confirmed for the exact adhesive and surface.
Application temperature, pressure and dwell time are Product-specific. Ask for the exact instruction when it is not shown on the quote.
Install a plate with holes
Use an existing or approved drilling location. The asset owner should approve drilling, fastener type and any procedure for chips, deburring or rear clearance.
Start all screws before final tightening so the plate can align without twisting. Stop if the plate bows or pulls into a recess. For rivets, confirm diameter, material and grip range for the joined thicknesses, then support the plate during setting.
The tag specification does not determine the correct screw torque, locking method or rivet for the asset.
Test curved, textured and sensitive surfaces
Request samples before a full run when the surface is curved, textured, coated, oily, repeatedly cleaned or sensitive to adhesive removal. Test the planned location and cleaning process, not a substitute panel.
Permanent adhesive may leave residue or affect a coating during removal. Removable adhesive is available only where the Product lists it and still requires a surface check.
Send enough detail for an installation review
Include a clear surface photo, asset material or coating, flat or curved condition, cleaning process, planned tag size, mounting preference and whether drilling is allowed. Add the intended scanner or viewing position when the tag carries a barcode or QR code.
Frequently asked questions
- How long should an adhesive asset tag cure before use?
- There is no universal dwell or cure time. It depends on the exact adhesive, asset surface and application conditions. Use the time confirmed for the selected Product and quote.
- Can I apply an adhesive tag to an oily or textured surface?
- Do not assume it will bond. Use a cleaning method compatible with the asset and test the exact tag on the exact surface. Consider an approved mechanical mounting path when enough adhesive contact is not available.
- Can a metal asset tag follow a curved surface?
- A thinner aluminum tag can follow a gentle curve more readily than a rigid plate, but fit depends on radius and contact area. Request samples when the curve is part of the mounting decision.
- Should I use screws or rivets?
- Use screws when planned removal matters and the asset accepts the fastener. Rivets suit a fixed joint when the hole size, material and grip range are approved by the asset owner.
- Will removable adhesive leave no residue?
- Do not assume that. Residue and finish change depend on the adhesive, coating, age and removal method. Use removable adhesive only where the Product lists it and test sensitive finishes.